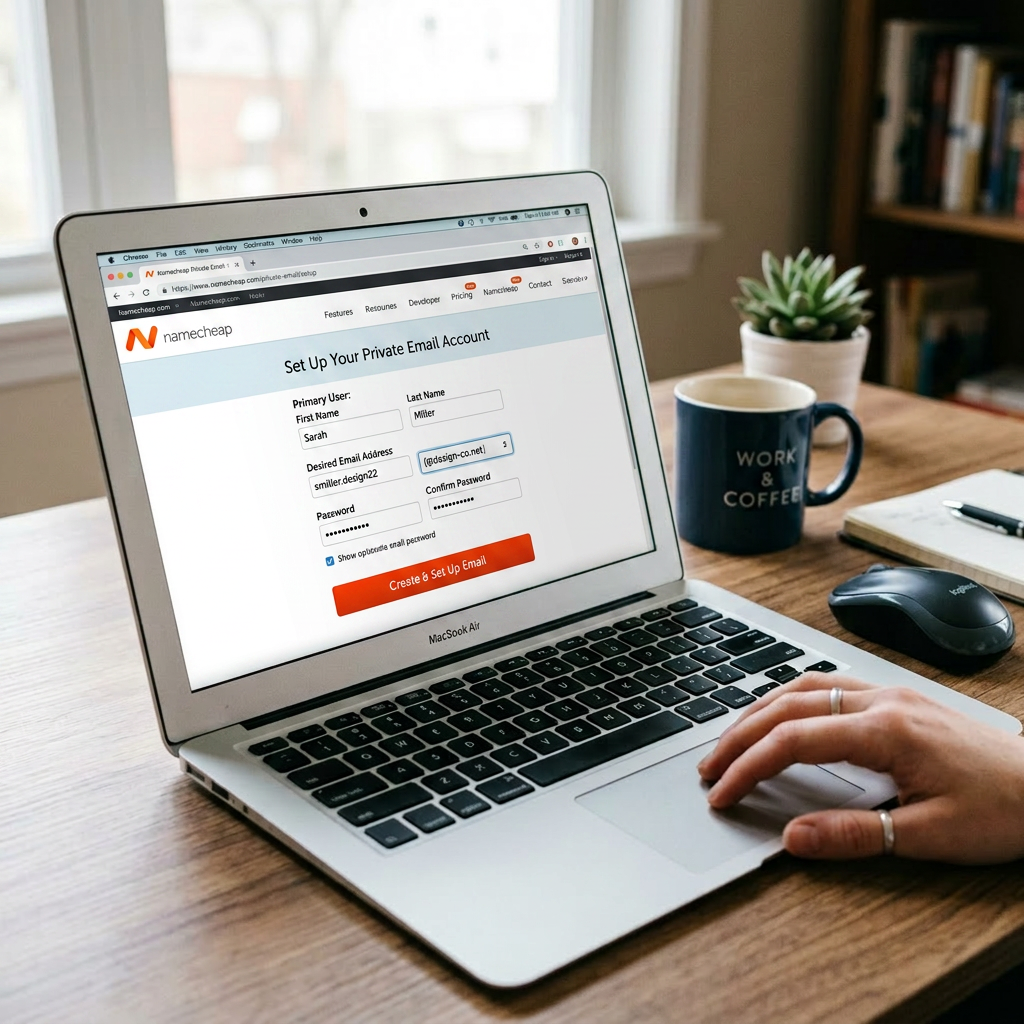
After getting a domain with Namecheap, I opted to use their Private Email for my real domain‑based email using their 1‑month free trial to test it out without commitment — and I’m planning to keep it for good. ✅
🎁 Why I Started with the 1‑Month Trial
Namecheap offers all Private Email plans as a free 30‑day trial — you just pick the “Free trial” option and pay $0.00 for 1 month.
This gives you:
- A custom email like
hello@yourdomain.com - Full IMAP/SMTP access for clients (Gmail, Outlook, Apple Mail, etc.)
- Enough time to test
- DNS setup
- inbox flow
- mobile access on iOS and Android
For me, that’s enough runway to see whether this fits my workflow before paying anything.

✅ How I Enabled Private Email
- Log into Namecheap
- Go to your Namecheap dashboard and select the domain you want to use.
- Find Private Email
- In the “Email” section (or via the “Private Email” tile), choose Private Email and click “Start my free trial” or “Buy Now” → select the trial option.
- Pick a plan and start the trial
- Confirm the “Only $0.00/1 month” billing cycle and complete checkout.
- Connect your domain
- In the setup, choose “Use a domain I already own with Namecheap” and select your domain.
- Namecheap will then configure the basic email‑related DNS records for that domain.
- Create a mailbox
- Go to “Private Email” → “Mailboxes” and create your first email address (e.g.,
info@jkminfotech.com). - Give it a password and display name.
- At this point, the 1‑month trial is active, and your domain email is ready to use in webmail or any IMAP client.
- Go to “Private Email” → “Mailboxes” and create your first email address (e.g.,

To be able to activate your Private Email subscription to receive mail and create mailboxes, you must first set up these important DNS records. You can find a little help to do this in Namecheap handy step-by-step guide. Once completed, please allow up to 4 hours for the changes to take effect.
📧 What Happens After the Trial?
Namecheap makes it simple:
- After 30 days, the subscription auto‑renews unless you cancel.
- Trial subscriptions come with:
- Limited storage (3 mailboxes with 30GB you can distribute)
- No advanced forwarding or big‑bucket features — but enough for testing.
For me, this trial is just the on‑ramp.
If everything works smoothly — DNS, mobile access, Gmail integration — I’ll keep Private Email turned on for good instead of letting it drop after the first month.
🔮 My Plan: Use & Upgrade Later
My workflow right now:
- Test the 1‑month trial with:
- Google Gmail (on mobile and desktop)
- A simple Namecheap‑only inbox
- Confirm that:
- DNS is stable
- Delivery and spam filtering work well
- After the trial, renew or upgrade to a paid plan so I can:
- Add more mailboxes
- Increase storage
- Keep it consistent with my blog and Atlassian setup
If you want a professional‑looking, domain‑based email without jumping straight to a long‑term paid plan, the 1‑month Namecheap Private Email trial is a solid starting point — and, for me, the first step toward a permanent setup. 📬
Leave a Reply