Now that my Atlassian account is set up and my domain is ready, it’s time to get practical: setting up a Jira Service Management (JSM) space for my tickets, requests, and internal workflows 🧩
Here’s how I did it step by step:
1. Open Jira Service Management
From my Atlassian dashboard, I clicked into Jira Service Management (or created a new JSM site if needed).
Since I’m using Atlassian Cloud, everything lives under my org, so I didn’t need to juggle multiple logins 🎯


2. Choose the right template
JSM gives you a few starting points:
- IT Service Desk (perfect for me as an IT support person)
- Customer Service
- Internal Service Desk
I picked “Internal Service Desk” because most of my work will be internal teams, not external customers — but the setup is very similar either way.
3. Create a new project
I clicked “Create project” and chose Jira Service Management.
Then I:
- Named my project (e.g.,
Tech Support HuborIT Helpdesk). - Chose a project type: Team‑managed or Company‑managed.
- I went with Team‑managed for now — it’s simpler and faster to tweak as I learn.
4. Set up the request types
JSM loves request types, so I added a few basic ones to start:
- New IT Request
- Password Reset
- Access / Permissions
- Hardware / Equipment
For each, I filled in:
- A short description
- Basic fields (like priority, category, requester)
No over‑engineering — just enough to make it usable day‑to‑day.
5. Connect the portal
JSM automatically creates a customer (or internal) portal for each project.
I grabbed the portal URL and, later, I’ll point it under my domain (or a subdomain) so it feels like part of my own brand, not a random Atlassian link.
6. Invite early users
I added:
- My primary email (the domain‑based one).
- A test user (can be a secondary email or a teammate later).
This lets me try out the portal, submit test requests, and see how the workflow actually behaves.
🧠 Why I Set It Up This Way
I didn’t build a full‑blown enterprise‑style JSM site from day one.
Instead, I focused on:
- Starting small with a clear, internal service desk project.
- Keeping it flexible so I can tweak request types and workflows as I learn.
- Aligning it with my brand and domain early, so it feels like “my system,” not just a random Atlassian demo.
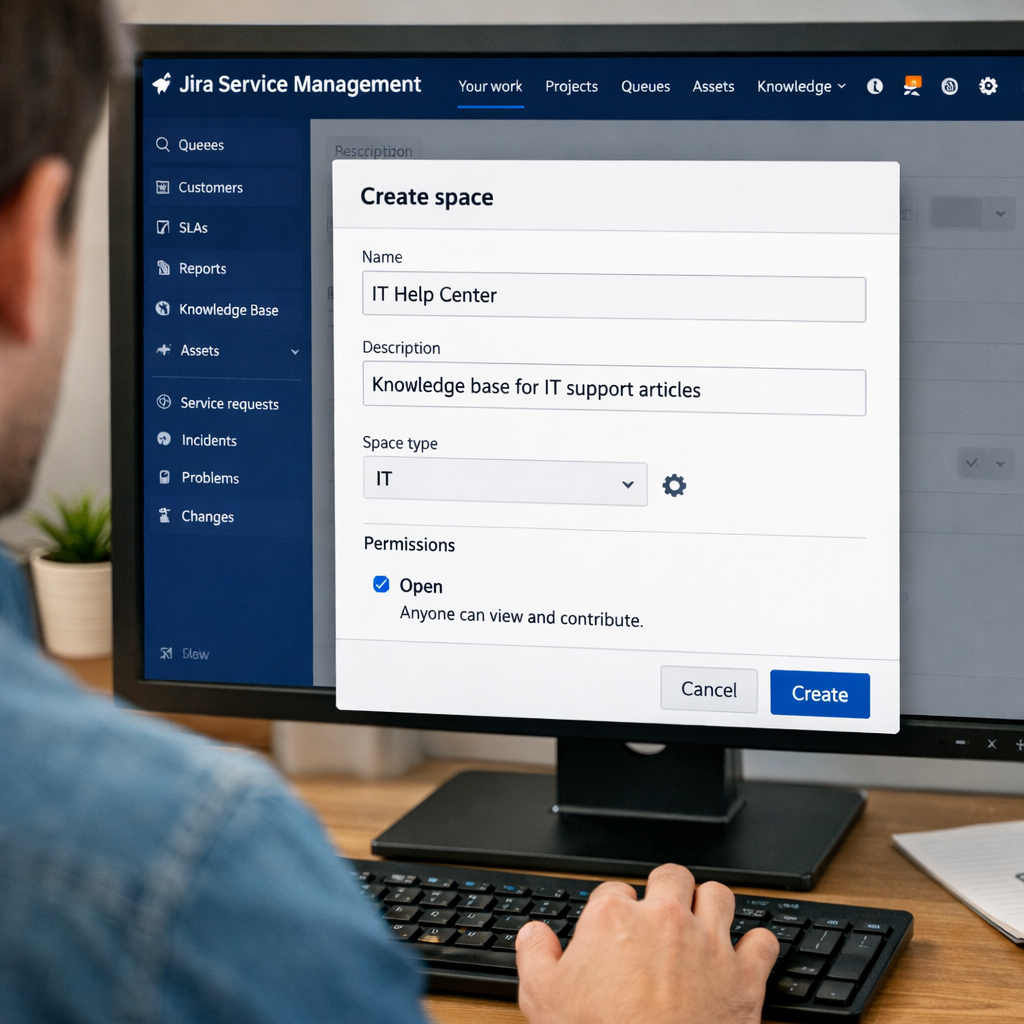
For next steps, visit -> 🚀 Creating a JSM Space for IT Service Management
Leave a Reply